User roles and object management
Users, roles and settings
Energy Logserver allows to you manage users and permission for indexes and methods used by them. To do this click the “Config” button from the main menu bar.
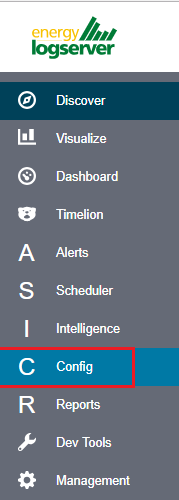
A new window will appear with three main tabs: „User Management”, „Settings” and „License Info”.
From the „User Management” level we have access to the following possibilities: Creating a user in „Create User”, displaying users in „User List”, creating new roles in „Create roles” and displaying existing roles in „List Role”.
Creating a User (Create User)
Creating user
To create a new user click on the Config icon and you immediately enter the administration panel, where the first tab is to create a new user (Create User).
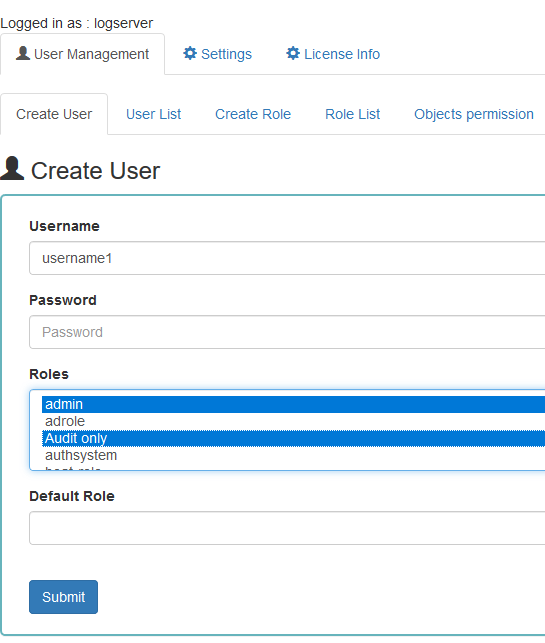
In the wizard that opens, we enter a unique username (Username field), password for the user (field Password) and assign a role (field Role). In this field we have the option of assigning more than one role. Until we select role in the Roles field, the Default Role field remains empty. When we mark several roles, these roles appear in the Default Role field. In this field we have the opportunity to indicate which role for a new user will be the default role with which the user will be associated in the first place when logging in. The default role field has one more important task - it binds all users with the field / role set in one group. When one of the users of this group create Visualization or Dashboard it will be available to other users from this role(group). Creating the account is confirmed with the Submit button.
User’s modification and deletion, (User List)
Once we have created users, we can display their list. We do it in next tab (User List).
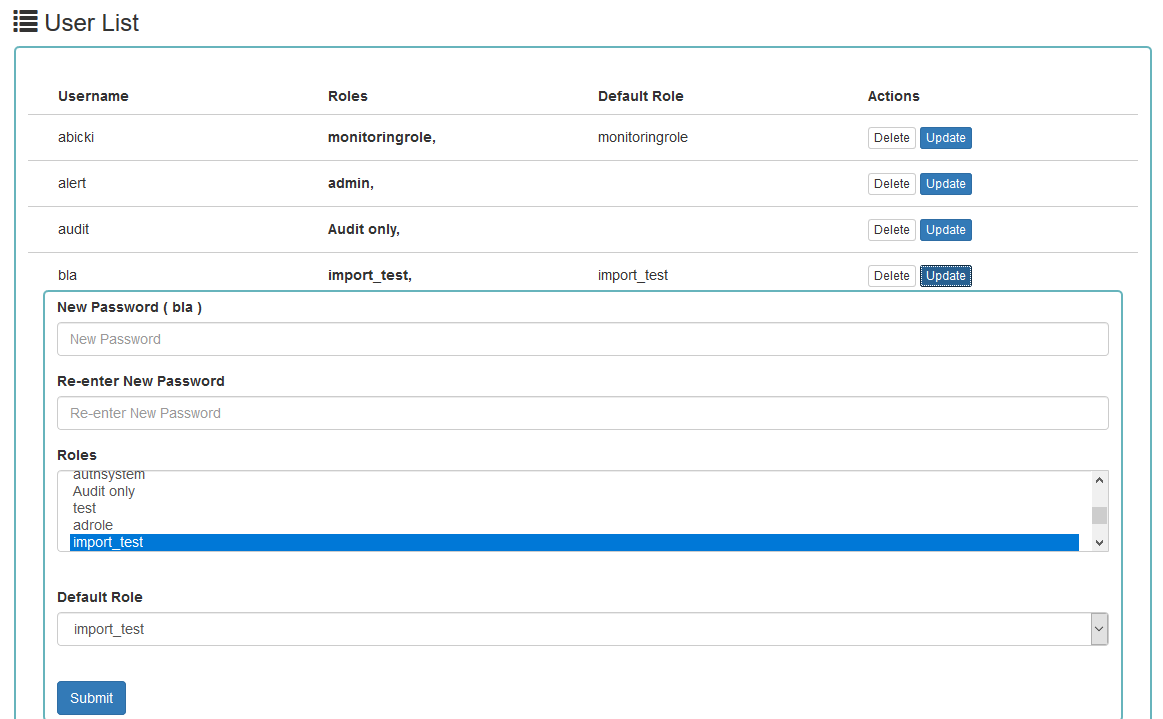
In this view, we get a list of user account with assigned roles and we have two buttons: Delete and Update. The first of these is ability to delete a user account. Under the Update button is a drop-down menu in which we can change the previous password to a new one (New password), change the password (Re-enter Ne Password), change the previously assigned roles (Roles), to other (we can take the role assigned earlier and give a new one, extend user permissions with new roles). The introduced changes are confirmed with the Submit button.
We can also see current user setting and clicking the Update button collapses the previously expanded menu.
Create, modify and delete a role (Create Role), (Role List)
In the Create Role tab we can define a new role with permissions that we assign to a pattern or several index patterns.
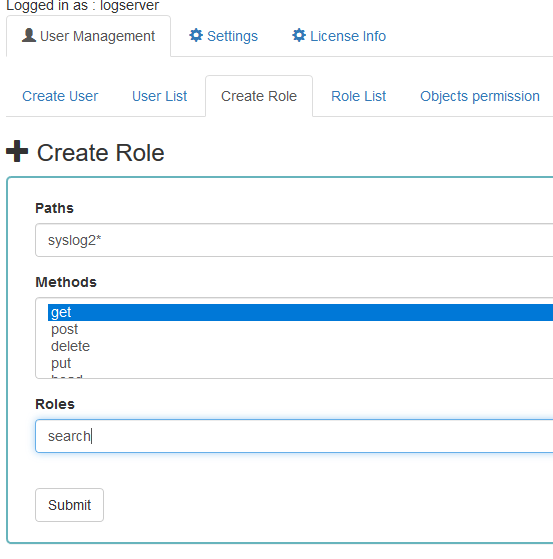
In example, we use the syslog2* index pattern. We give this name in the Paths field. We can provide one or more index patterns, their names should be separated by a comma. In the next Methods field, we select one or many methods that will be assigned to the role. Available methods:
- PUT - sends data to the server
- POST - sends a request to the server for a change
- DELETE - deletes the index / document
- GET - gets information about the index /document
- HEAD - is used to check if the index /document exists
In the role field, enter the unique name of the role. We confirm addition of a new role with the Submit button. To see if a new role has been added, go to the net Role List tab.
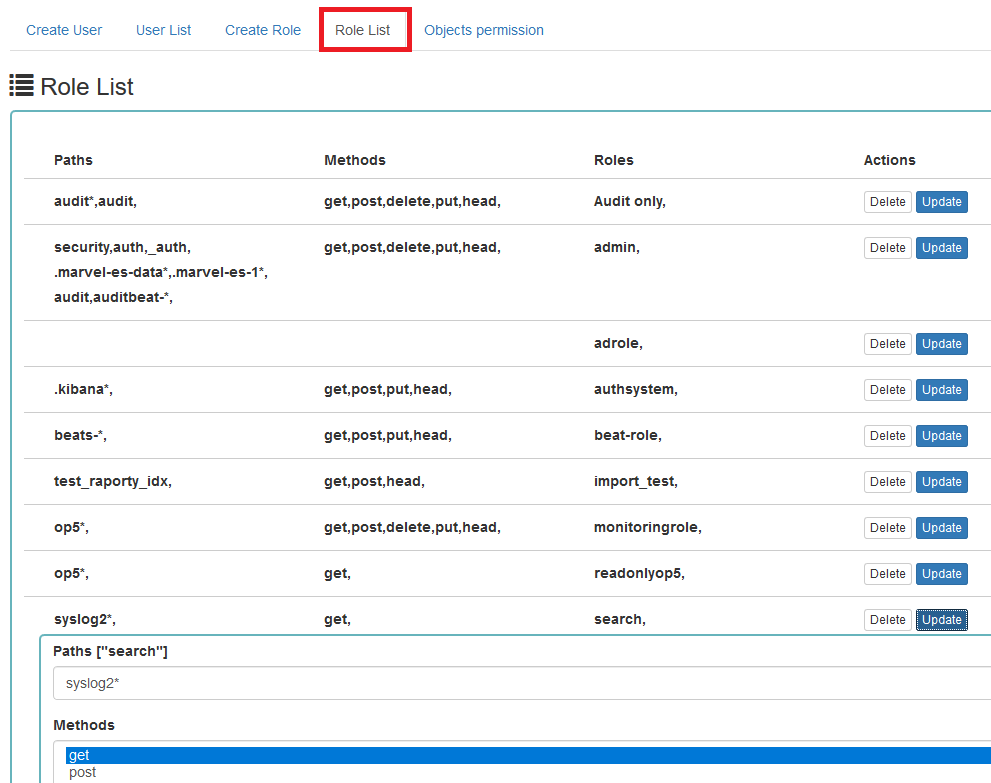
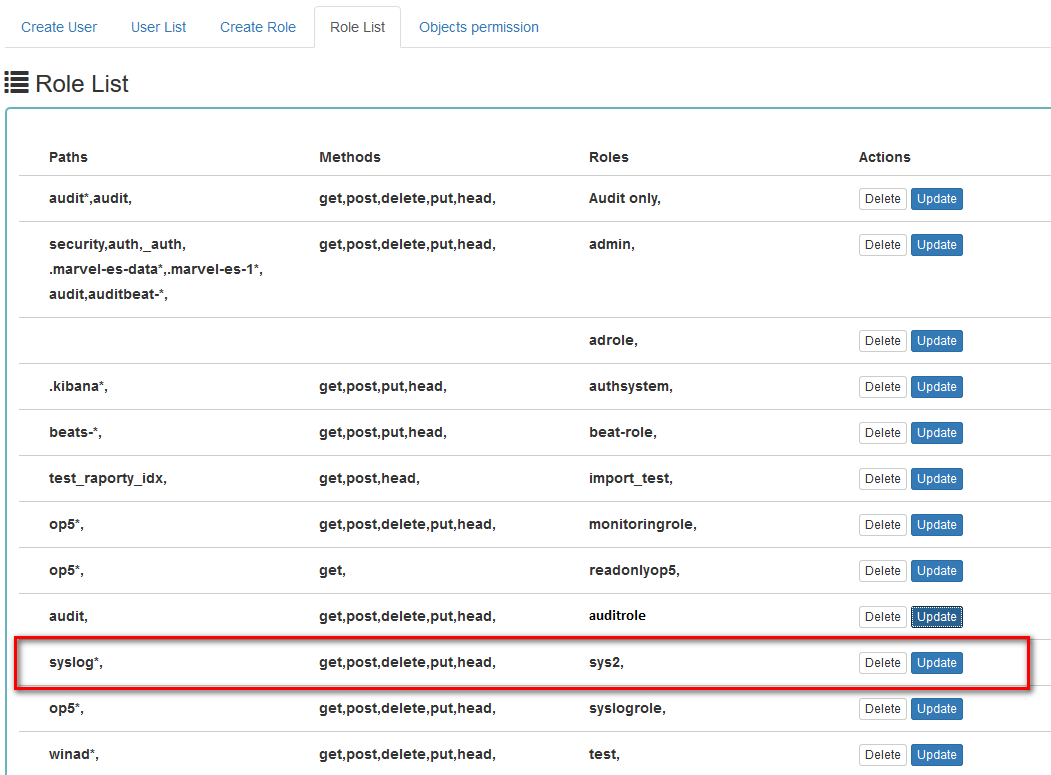
As we can see, the new role has been added to the list. With the Delete button we have the option of deleting it, while under the Update button we have a drop-down menu thanks to which we can add or remove an index pattern and add or remove a method. When we want to confirm the changes, we choose the Submit button. Pressing the Update button again will close the menu.
Fresh installation of the application have sewn solid roles which granting user special rights:
- admin - this role gives unlimited permissions to administer / manage the application
- alert - a role for users who want to see the Alert module
- kibana - a role for users who want to see the application GUI
- Intelligence - a role for users who are to see the Intelligence moduleObject access permissions (Objects permissions)
In the User Manager tab we can parameterize access to the newly created role as well as existing roles. In this tab we can indicate to which object in the application the role has access.
Example:
In the Role List tab we have a role called sys2, it refers to all index patterns beginning with syslog* and the methods get, post, delete, put and head are assigned.
When we go to the Object permission tab, we have the option to choose the sys2 role in the drop-down list choose a role:
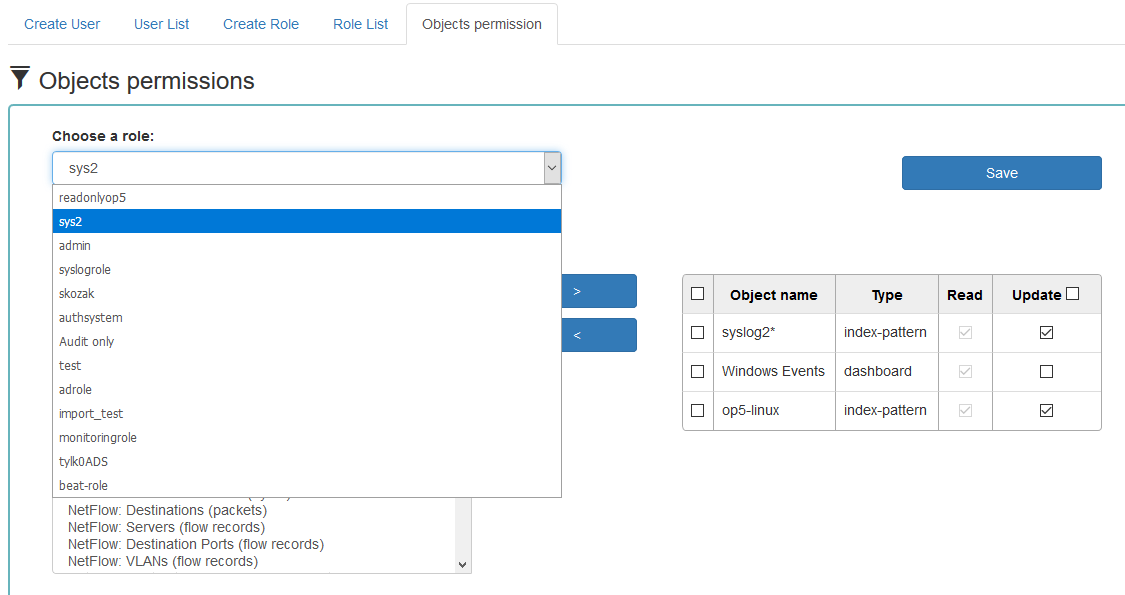
After selecting, we can see that we already have access to the objects: two index patterns syslog2* and Energy Logserver-* and on dashboard Windows Events. There are also appropriate read or updates permissions.

From the list we have the opportunity to choose another object that we
can add to the role. We have the ability to quickly find this object
in the search engine (Find) and narrowing the object class in
the drop-down field “Select object type”. The object type are associated
with saved previously documents in the sections Dashboard, Index pattern,
Search and Visualization.
By buttons  we have the ability to add or remove or
object, and Save button to save the selection.
we have the ability to add or remove or
object, and Save button to save the selection.
Default user and passwords
The table below contains built-in user accounts and default passwords:
|Address                |User         |Password     |Description                                     |Usage          |
|-----------------------|-------------|-------------|------------------------------------------------|---------------|
|https://localhost:5601	|logserver    |logserver    |A built-in *superuser* account                  |               |
|                       |alert        |alert        |A built-in account for  the Alert module        |               |
|                       |intelligence |intelligece  |A built-in account for the Intelligence module  | authorizing communication with elasticsearch server |
|                       |scheduler    |scheduler    |A built-in account for the Scheduler module     |
|                       |logstash     |logstash     |A built-in account for authorized comuunication form Logstash |
Changing password for the system account
After you change password for one of the system account ( alert, intelligence, logserver, scheduler), you must to do appropriate changes in the application files.
Account Logserver
Update /etc/kibana/kibana.yml:
  vi /etc/kibana/kibana.yml

  elasticsearch.password: new_logserver_passowrd
  elastfilter.password: "new_logserver_password"
Account Intelligence
Update /opt/ai/bin/conf.cfg
  vi /opt/ai/bin/conf.cfg
  password=new_intelligence_password
Account Alert
Update file /opt/alert/config.yaml
  vi /opt/alert/config.yaml
  es_password: alert
Account Scheduler
Update /etc/kibana/kibana.yml:
  vi /etc/kibana/kibana.yml
  elastscheduler.password: "new_scheduler_password"
Account Logstash
Update the Logstash pipeline configuration files (*.conf) in output sections:
  vi /etc/logstash/conf.d/*.conf

  elasticsearch {
  	hosts => ["localhost:9200"]
  	index => "syslog-%{+YYYY.MM}"
  	user => "logstash"
  	password => "new_password"
  }